|
1. To begin, create a standard Particle Flow. |
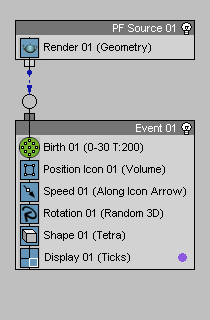
|
|
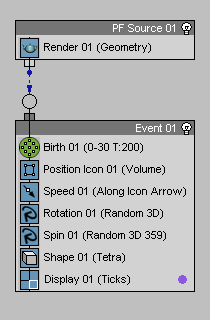
2. Add a Spin Operator right below the Rotation Operator.
|
|
|
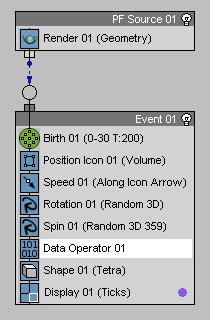
3. Below the Spin Op, add a Data Operator. Check Auto Update. |
|
|
4. Click on Edit Data Flow.
|
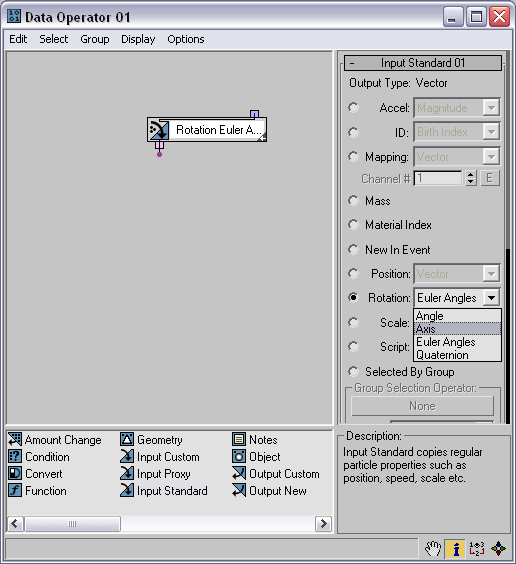
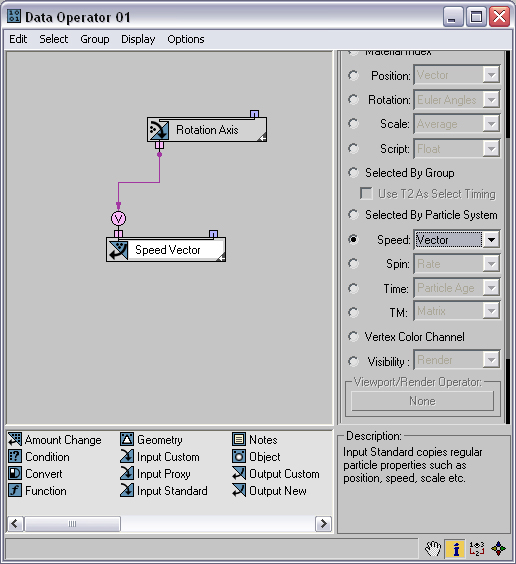
5. To start, need to get the Rotation data from the particles. Add an Input Standard suboperator. By default it is set to get Position data, so Change it to get Rotation. There are 4 different rotational data types we can use this suboperator to obtain. Since our desired outcome is to translate this to Speed, we need to use the closest data type to the Speed data. In Particle Flow, particle speed is defined using a directional vector with a length indicative of the velocity in that direction. As such, the Rotational Axis data type fits our needs the best here.
|
6. Now we will add a suboperator to send the newly acquired data back to the flow. This is done with an Output Standard supoperator. Set this to Speed output, using the Vector data type.
|
|
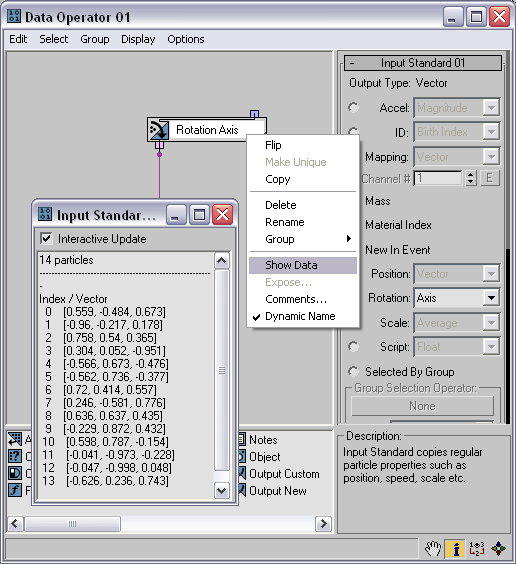
7. Wire the Input Standard subOp to the Output Standard subOp. If you scrub the timeline, you will see that the particles move extremely fast. This is because we don't have the two data types correctly scaled to each other. A good way to see the scale of the particle data is to use the Show Data tool available by right-clicking on the Input Standard subOp and selecting Show Data.
|
8. Scrub forward a frame or two and you will see that the Rotational data is in the form of a normalized directional vector (all values are between 0 and 1).
|
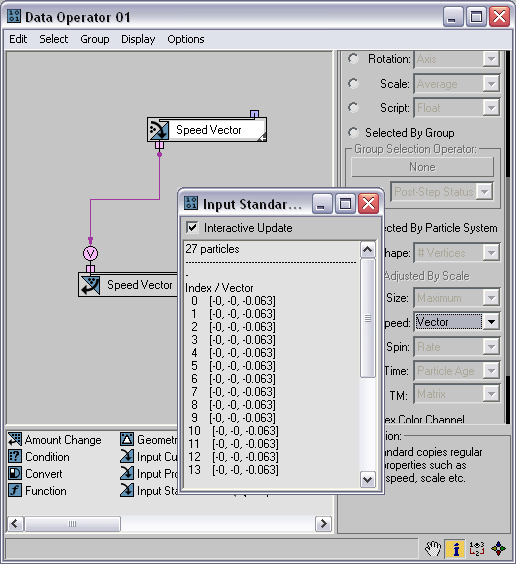
9. To see what scale of data we need, change the Input Standard from Rotational data to Speed (data type Vector). This is done because you cannot Show Data on an Output subOp. Re-wire this to the existing Output Standard subOp and Show Data. With a default 300 units of speed in the Speed Operator, we get a value of .063 (the negative value is because the icon is point down by default). Using this, we can scale our Rotation Data to fit within our desired speed, and in the process make a way to adjust the speed through the Expose Parameters feature.
|
|
10. Change the Input Standard data back to Rotation with Axis data type.
|
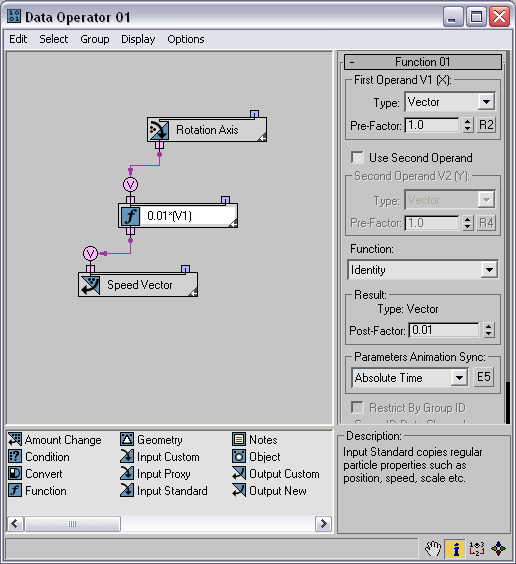
11. Add a Function subOp and uncheck Use Second Operand. Change the Function to Identity. This essentially passes the data coming in right out the other side. However, it gives us a Post-Factor multiplier. Setting this to .01 will decrease our Rotational Data to a Speed that is a bit more in the range we want. Wire the Input Standard subOp to the Function subOp and the Funtion to the Output Standard. Scrub the timeline and you will see our swarming particles. Since this motion is dependant on the particle orientation, you can randomize and tweak the motion by adjusting the Spin Operator. You will also notice that this Operator now supercedes the existing Speed Op. This will be addressed in part two of this tutorial.
|
|
12. This concludes the creation of the data flow, but now we need a way to control the speed. Right-click on the Function subOp and select Expose...
|
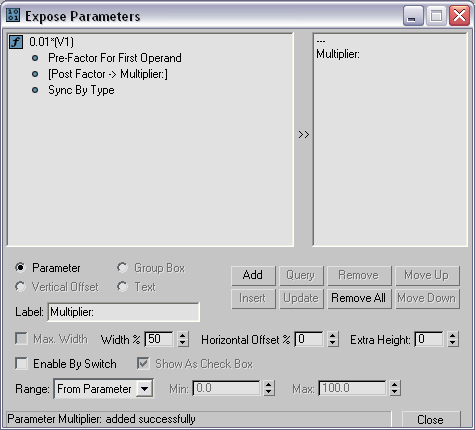
13. You will see this dialog box pop up. Select the parameter we want exposed - Post Factor, in this case. Type in the label associated with the parameter (I used "Muliplier:") and click Add. You should get this:
|
14. Now close that window as well as the Data Flow window, and when your Data Op is selected, you should now have access to the Post Factor multiplier.
|